How to Upload Django Project to Github.?

"Full Stack Web Developer | Bridging Front-End Elegance with Back-End Power | Crafting Dynamic and User-Centric Digital Solutions"
Introduction
In this blogpost article you will learn how you can push a django project to Github with the help of Git. Git is a software package used for version control of your source code. It enables you to update your code, whilst still being able to view your previous versions. In addition, all changes to the code will have a description and user, so you know exactly who made changes when. Github is the platform where you can store your code. In this blogpost we will install git, configurate our project, create a Github repository, and show how we can update our code as we extend the code.
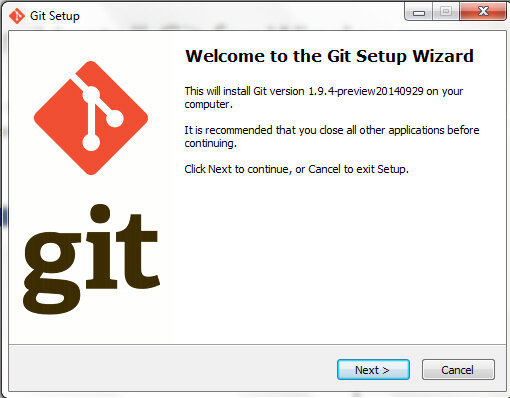
Step 1: Install and Setup Git
Git allows us to run the commands that let us upload a Django project to Github, so it is crucial to have it installed in your operating system.
Check if Git has been installed correctly by checking its version.
$ git --version
Now let’s set up Git.
$ git config --global user.name "Your Name"
$ git config --global user.email "Your email Address"
The first command sets the name that is going to be used for other Git operations we will do. So does your email.If you wish to change either of these credentials, just rerun the corresponding command with the new credential.
Step 2: Create a Github account
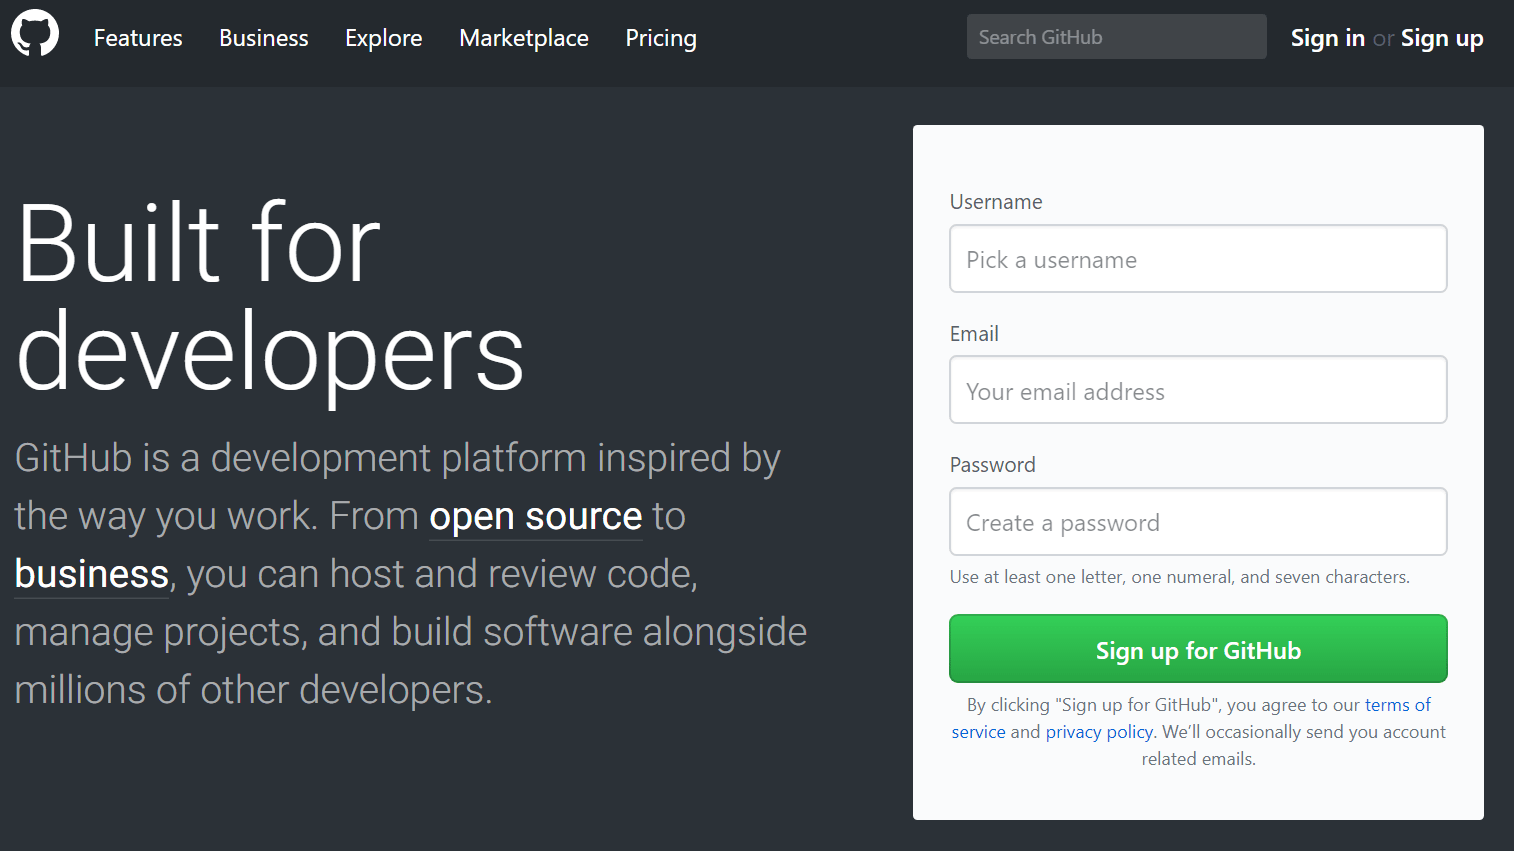
Go to GitHub homepage.
Click the ‘SignUp’ button.
Enter your Email, Username, and Password.
Click the Create Account button.
Verify your Email
And we are In!
Before You Upload A Django Project To Github
1. Hide the Sensitive Information of your Django Project using Environment Variables
There is some information that you are not supposed to deploy on Git such as passwords, secret keys, usernames, etc. You can hide them using environment variables.
2. Create a .gitignore file
A .gitignore file lists all the other files and folders in your Django project that are not supposed to be uploaded to Git. These files and folders may be containing sensitive information about your project (like secret keys and passwords) or they are simply not necessary to include in your repository (like virtual environment folders).
3. Create a requirements.txt file
In your Django project root folder, there should be a text file that lists all the dependencies of the project and their versions. This is done so that when some other developers want to work on your project, they know the dependencies that are required to run it. In Django, or Python is general, it is a best practice to call this file requirements.txt. You can create it automatically by running the following command:
pip freeze > requirements.txt
This will automatically create a file called requirements.txt, which contains a list of your project’s dependencies and their versions, at the root of your project. Make sure you don’t include it in the .gitignore file.
Step 3: Git Init!
Assuming that you already have the Django project created and are ready to deploy it to Github, cd into the project’s folder (that contains manage.py) Run the following command to initialize the folder as a local Git repository.
$ git init
You will now get a confirmation that git is initialized. If you go to your file explorer you will see that a hidden git folder has been created.

Step 4 : Git Status.
The following command is used to check the status of your local git repository, if you run this command on a new Django project that has not been committed to git, it should return something like below.
$ git status
Step 5: Make A Commit
Now that the folder is a local git repository, you have to update it.
Run the following commands in that same terminal:
$  git add -A
$ git commit -m "initial commit"
The -A flag is for all, and the -m flag for message. The first commits you add to a repository are usually called ‘initial commit'(s). The next time you run the next command again in that same folder (git commit -m “message”) you have to change the message to cater to the most recent changes you made to the code.
Step 6: Create A New Github Repository.
Click the ‘+’ dropdown at the top right corner of your GitHub dashboard and click on the ‘New Repository’ option.

Type the name of the Repository. It is best practice to give it the same name as that of your Django project.
Give a description of the project if you wish to do so.
Choose if it is going to be a Private or Public directory.
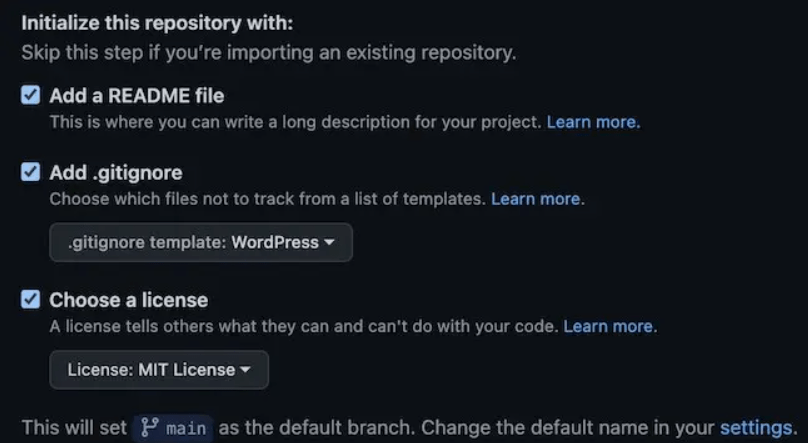
The next step ‘Initialize your project with:’ is optional, skip it if you wish to.
Click the ‘Create Repository’ button.
On the same screen, add a README file (a text file that describes your project, and a best practice in development), a .gitignore (which removes irrelevant files like .DS_Store), and a license for your project.
Step 7: Push To Github Repo.
For now, what we have done is initiated a folder in our computer to work as a local repository and then we created the actual Github repository to which we want the code to be uploaded.
$ git remote add origin https://github.com/username/repository-name.git
$ git branch -M main
$ git push -u origin main
We have now succesfully pushed our Django code to the Github repository!
Conclusion:
That was how to upload a Django project to Github. As you can see the first 2 steps are one-offs meaning you only have to do them once. The next steps you have to repeat every time you are uploading a Django project to Github. This leaves us with only 5 steps to upload a Django project to GitHub. Which are git init, git status, git -A, git commit -m "message", Github repository creation, and Github repository push. All Done
That's a wrap. Thanks for reading.
Hope this article was helpful to you.
If you enjoyed reading this, then please like and share this article with others.
Have fun coding!


